
13/10/2026
No-drill shower rail: does it really hold up?
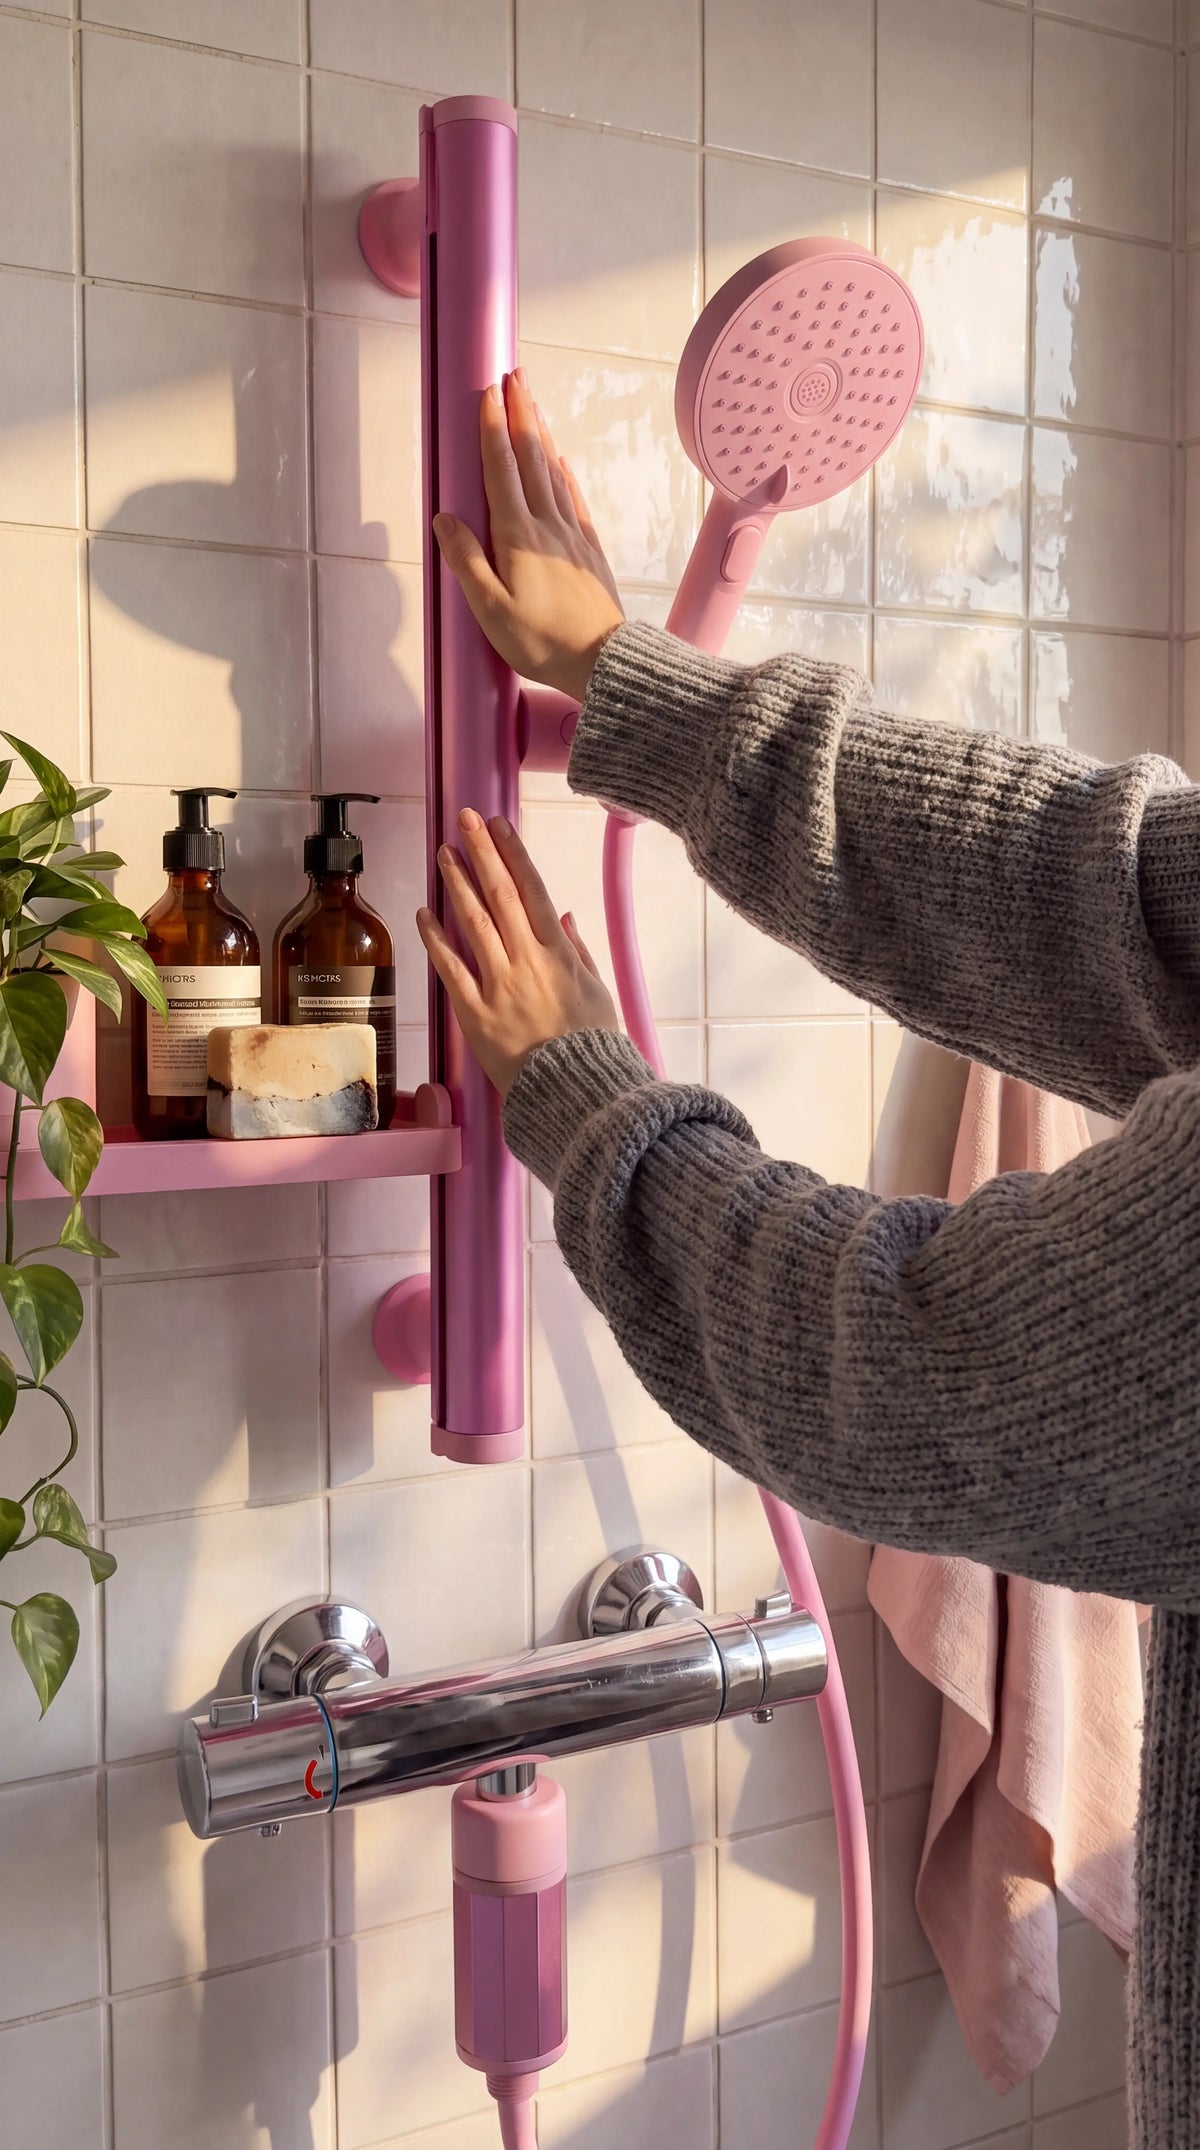
“A stick-on shower rail? It'll be on the floor within three days.” We hear that a lot. And to be honest, it can happen… if the install is rushed. Properly applied on the right surface, a quality adhesive holds really well. The secret isn't arm strength, it's prep. Here's everything you need to know.
How a mounting adhesive works
No-drill rails use a heavy-duty adhesive designed for wet rooms. It bonds on contact: the more of its surface touches the wall, the better it holds. It also needs a little time to reach full strength. That's why the two biggest enemies of a good install are:
- a dirty, greasy or damp surface;
- impatience (showering right after putting it up).
Which surfaces it holds on (and which it doesn't)
The ideal surfaces
- Tiles
- Ceramic
- Glass
- Smooth stone
These are hard, smooth, non-porous surfaces. The adhesive grips them perfectly.
Surfaces to avoid
- Paint: even if the adhesive sticks to the paint, the paint doesn't necessarily stick to the wall. Result: it all peels off together.
- Wallpaper: same problem, only worse.
- Heavily textured or damaged surfaces: cracked tiles, deep relief, crumbling plaster.
What about grout lines?
Avoid placing the adhesive across a grout line. The grout creates a dip, so the adhesive no longer touches the surface everywhere. If you can, center the mount on a single tile.
Installation, step by step
- Pick your spot. Hold the rail against the wall, check the height works for everyone in the house, and mark the position with a small piece of masking tape.
- Clean. Wash the area to remove soap scum and limescale, then degrease with rubbing alcohol or isopropyl alcohol. This is the step everyone skips. Don't skip it.
- Dry. The surface must be completely dry. Ideally, don't use the shower for a few hours beforehand, and air out the room.
- Check the temperature. Adhesive likes a room at a comfortable temperature. Avoid installing in a freezing bathroom in the dead of winter with the window wide open.
- Peel off the protective film without touching the adhesive with your fingers.
- Press hard. Push firmly over the whole adhesive surface, for a good while. The more even the pressure, the better the bond.
- Wait. Respect the curing time in the instructions before hanging the shower head and running the water. Perfect excuse to watch an episode of your show.
The mistakes that bring it all down
- Sticking it on a wall that's still damp from your morning shower.
- Putting it on paint “because it looks smooth”.
- Peeling off and repositioning the adhesive after a first attempt.
- Using the rail as a handle to steady yourself. A shower rail is not a grab bar.
- Hanging three bottles, a washcloth and a caddy off it. Keep it for the shower head.
How to remove it without damaging the tiles
On moving day, your rail comes with you. To take it down cleanly:
- Warm up the adhesive for a few moments with a hair dryer. The glue softens.
- Slide a thread (dental floss or fishing line) behind the mount and work it back and forth, like a saw.
- Remove the leftover glue by rolling it off with your thumb, then with a little oil or adhesive remover. Rinse and dry.
No holes, no cracks, nothing docked from your deposit.
So, does it really hold?
Yes, on three conditions:
- the right surface, smooth and hard;
- proper prep: clean, dry, degreased;
- a little patience before your first shower.
Tick those three boxes and you can shove your drill to the back of the cupboard.
At Showrz, the shower rail is made of lightweight aluminum and sticks on with no drilling to tiles, ceramic, glass or smooth stone. It's part of the full kit, with the 3-spray shower head, the matching hose and the filter. And if you don't need the filter, there's a rail kit without it too. Nine colors to choose from, from Pink to Matte Black.